WordPress Plugin Development – Beginner Guide

With half a decade of experience in creating tech content for education, healthcare, hospitality, and real estate, Nandhini excels at turning complex insights into clear, credible, in-depth, research-backed, and engaging content that helps readers make informed decisions.
Our authors are proven experts in their fields, writing on topics where they have demonstrated expertise. Every piece of content undergoes peer review and validation by industry professionals.
AI Summary
Key Highlights of WordPress Plugin Development Guide
This post explores WordPress plugin development, aiming to educate beginners on building custom extensions that enhance site functionality without altering core files. The key insight: mastering PHP and WordPress hooks enables safe, scalable plugin creation. It covers foundational technologies, planning, environment setup, coding structure, activation, testing, debugging, and best practices. Readers learn to create tailored plugins that solve specific business needs, improving site performance and features. The guide also stresses documentation, support, and community engagement for success. By following this roadmap, developers gain control over WordPress behavior and can deliver reliable, maintainable plugins that meet user demands.
What is WordPress Plugin Development?
WordPress Plugin Development is the practice of building custom extensions that add new features or modify existing functionality in WordPress without touching the core files. Plugins are primarily written in PHP and help you extend a site with capabilities like custom widgets, third party integrations, performance improvements, security enhancements, and advanced business features.
If you are starting out, understanding PHP basics and how WordPress works behind the scenes is essential. Concepts such as hooks, actions, and filters allow you to safely customize behavior and create scalable solutions. This beginner guide walks you through the tools, structure, and best practices needed to build reliable plugins that follow WordPress coding standards.
By learning plugin development, you gain full control over how a WordPress website behaves and unlock the ability to create tailored solutions for specific business needs.
Additionally, explore the top WordPress development services company before deciding to hire a team for your project.
Points to Understand Before Starting Plugin Development
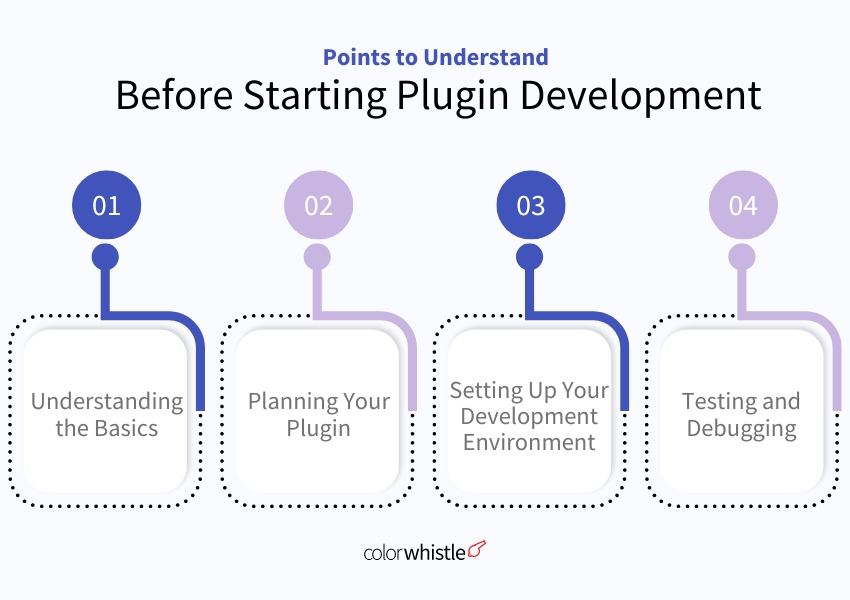
Understanding the Basics
Before building a WordPress plugin, you need a strong foundation in PHP, HTML, CSS, and JavaScript. These are the core technologies behind every WordPress website. It is equally important to understand how WordPress operates internally through hooks, actions, filters, and the Plugin API. These concepts allow you to extend functionality safely without modifying core files and ensure your plugin follows WordPress standards.
A clear grasp of these basics helps you write clean, maintainable code and avoid common beginner mistakes that lead to compatibility or performance issues.
Planning Your Plugin
Successful plugin development starts with proper planning. Clearly define the goal of your plugin and list the features it will offer. Identify who will use the plugin and what problems it solves. Study existing plugins in the same category to understand their limitations and discover opportunities where your plugin can provide better value.
Create a development roadmap that outlines the structure, features, testing process, and future scalability. This planning phase saves time, reduces rework, and sets a strong foundation for building a reliable WordPress plugin.
Setting Up Your Development Environment
Setting up a development environment for building a WordPress plugin as a beginner involves several steps. Here’s a basic guide to help you begin:
Install Local Development Environment:
Before you start developing a WordPress plugin, it’s essential to have a local development environment set up on your computer. You have the option to utilize software such as XAMPP, MAMP, or Local by Flywheel. These tools provide a local server environment where you can run WordPress.
Install WordPress:
Once you have your local development environment set up, download the latest version of WordPress from wordpress.org. Extract the WordPress files into the appropriate directory in your local server environment (typically the “htdocs” folder for XAMPP or MAMP).
Create a Database:
Using your local server’s administration tool (usually phpMyAdmin), create a new database for your WordPress installation. Take note of the database name, username, and password as you’ll need these during the WordPress installation process.
Install WordPress:
Open your web browser and navigate to the URL where your local server environment is running. Follow the instructions on the screen to complete the WordPress installation process. When prompted, enter the database information you created earlier.
Set Up WordPress:
After installing WordPress, you’ll need to set up your website by providing a site title, username, password, and email address. Once you complete the setup, you’ll be redirected to the WordPress dashboard.
Create a Plugin Directory:
Inside the wp-content/plugins directory of your WordPress installation, create a new folder for your plugin. Give it a name that describes your plugin, preferably unique to avoid conflicts with existing plugins.
Set Up Plugin Files
Create the Main PHP File
- Inside your plugin directory, create a new PHP file. This will be the heart of your plugin
- Within this file, add a plugin header comment. This comment acts like an ID tag for WordPress, containing important details about your plugin like name, description, version, and author
Include Essential Files
- While not required, consider including an index.php file to handle basic requests and a README.md file for documentation
- The README.md file can include a link to more detailed documentation about your plugin’s functionality and usage
Organize Your Code (Recommended)
- If your plugin involves styling or complex functionality, consider creating separate stylesheets for the front end (what users see) and back end (admin area)
- This helps keep your code organized and easier to manage
Naming Conventions
- The main PHP file should ideally be named the same as your plugin folder for consistency.
Start Coding Your Plugin:
You can now start coding your plugin using your favorite text editor or integrated development environment (IDE).
your-plugin/
├── css/
│  └── admin.css
│  └── style.css
├── js/
│  └──text-reader.js
├── assets/
│   └── images/
├── includes/
│   └── your-plugin-template.php/
├── README.md
├── uninstall.php
└── your-plugin-function.php
└── index.php
Activate Your Plugin:
With your plugin code written, head over to your WordPress dashboard. Navigate to the “Plugins” menu and select “Add New.” Here, you can upload your entire plugin folder directly.
Once uploaded, you’ll see your plugin listed. Simply click “Activate” to bring it to life within your WordPress site. Now’s the exciting part! Thoroughly test your plugin to ensure it operates as intended. Feel free to refine and adjust your code based on the testing results.
Version Control:
Consider using version control, such as Git, to manage your plugin’s codebase. This will help you track changes, collaborate with others, and revert to previous versions if needed.
Testing and Debugging
Testing: Manual Testing
- Basic Functionality: Thoroughly test your plugin’s core features to ensure they work as intended
- Different Scenarios: Simulate various user interactions and corner cases to identify potential issues
- Cross-Browser Compatibility: Test your plugin in different popular browsers (Chrome, Firefox, Safari, etc.) to ensure consistent functionality
- Cross-Device Compatibility: Check the plugin’s responsiveness and functionality across different devices (desktop, mobile, tablets) to guarantee a seamless user experience
Automated Testing
Consider using testing frameworks like PHPUnit or WP-CLI to automate repetitive tests and save time.
Debugging
- Enable WordPress Debug Mode: This displays PHP errors, notices, and warnings, helping you pinpoint issues. (https://kinsta.com/docs/wordpress-hosting/wordpress-troubleshooting/wordpress-debugging)
- Review Error Logs: Check the wp-content/debug.log file for detailed error messages and clues about the source of the problem
- Use Debugging Plugins: Plugins like Query Monitor or Debug Bar can provide valuable insights into your plugin’s performance and database queries, aiding in troubleshooting (https://wordpress.org/plugins/query-monitor/, https://developer.wordpress.org/plugins/developer-tools/debug-bar-and-add-ons/)
- Print Statements: Temporarily add echo or var_dump statements in your code to inspect variable values and trace program execution flow
- Leverage Debugging Tools: Utilize your code editor’s debugging features like breakpoints and step-by-step execution to identify the exact line causing the issue
Additional Tips
- Write Clean and Well-Commented Code: This makes your code easier to understand and maintain, simplifying debugging
- Follow Coding Standards: Adherence to established WordPress coding standards improves code readability and compatibility
- Seek Help from the Community: Engage in WordPress forums and communities to ask questions, share experiences, and learn from other developers
Also Read
Challenges Encountered in Plugin Development
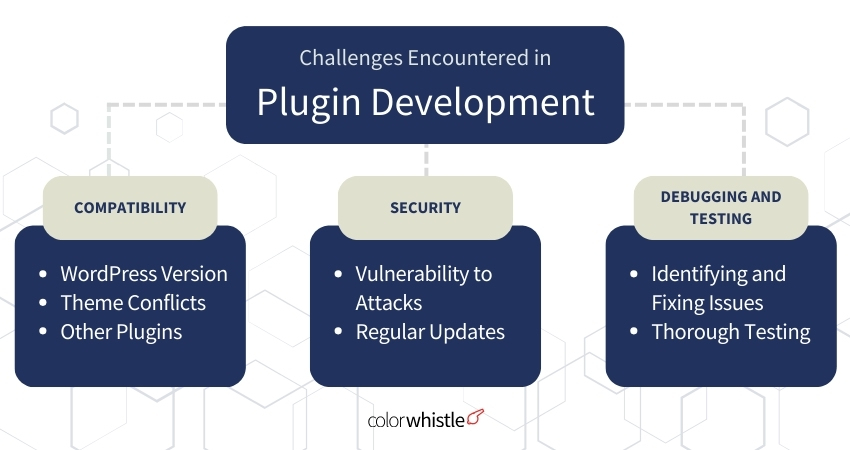
Compatibility
- WordPress Version: Plugins need to function with various WordPress versions, which can require extra coding and testing.
- Theme Conflicts: Plugins might clash with certain themes, leading to unexpected behavior or visual issues.
- Other Plugins: To prevent compatibility issues down the line, it’s crucial to choose a unique name for your plugin before you start coding. Plugins can clash if they use similar resources or functionalities, and a distinct name helps avoid this.
Security
- Vulnerability to Attacks: Plugins, especially new ones, can be targeted for security breaches if proper security practices aren’t followed during development.
- Regular Updates: Maintaining your plugin with security patches and updates is crucial to ensure ongoing user safety.
Debugging and Testing
- Identifying and Fixing Issues: Isolating and resolving bugs can be time-consuming, especially for beginners.
- Thorough Testing: Testing your plugin across different browsers, devices, and scenarios is essential but can be demanding
User Experience
- Intuitive Interface: Creating a user-friendly interface within the WordPress admin panel is important for smooth user interaction.
- Clear Documentation: Providing comprehensive documentation helps users understand and effectively utilize your plugin
Performance Optimization
- Code Efficiency: Ensuring your plugin’s code is well-optimized can prevent it from slowing down the website
- Resource Management: Efficient use of server resources is vital for plugin performance and overall website speed
Documentation and Support
Documentation
Importance: Comprehensive documentation acts as a guide for users, enabling them to understand your plugin’s purpose, features, configuration, and usage.
Content: Aim to include the following sections
- Installation Instructions
- Features and Functionality
- Configuration Options
- Common Use Cases
- FAQs (Frequently Asked Questions)
Writing Style
- Clarity: Use clear, concise, and jargon-free language to ensure easy comprehension
- Structure: Organize your documentation logically, using headings, subheadings, and bullet points for better readability
- Screenshots and Videos: Visual aids can significantly enhance understanding and user experience
Support
Channels: Provide multiple channels for users to seek assistance, such as:
- Support Forum: Create a dedicated forum on your website or utilize existing WordPress support forums
- Email Support: Offer an email address for users to submit questions and receive personalized assistance
- FAQ Page: Maintain a comprehensive FAQ page on your plugin’s website to address common issues and solutions
Responsiveness:
Respond to user queries promptly and professionally, demonstrating a commitment to user satisfaction.
Community Engagement:
Actively participate in relevant online communities and forums related to WordPress plugin development, offering help and guidance to others. This not only builds your reputation but also provides valuable insights from other developers.
Check out some of the awesome WordPress plugins our ColorWhistle team has created!
1. Mission: This Maintenance Mode plugin is your one-stop shop for a visually appealing and easy-to-use solution. This plugin offers a variety of stylish, customizable templates to keep your website visitors informed and interested while your site undergoes updates. Plus, an integrated countdown timer adds an extra touch of engagement.
Tech Stack: Built with WordPress and PHP. (Under development)
2. Mission: Streamline Review Sharing! This plugin provides users with a centralized hub to submit reviews. They can effortlessly leave feedback on services and brands across diverse platforms and websites.
Tech Stack: Built with WordPress and PHP for seamless integration with the website.
3. Mission: Boost User Feedback! This WordPress plugin streamlines the review process, allowing users to easily share their experiences with your services or brand directly on your website.
Tech Stack: Built with industry-standard tools like WordPress and PHP, this plugin ensures a smooth and reliable experience.
4. Mission: Bridge the gap between Google Reviews and WordPress websites, allowing businesses to seamlessly display their online reputation.
Tech Stack: WordPress, PHP, Google API
Also Read
Wrap-Up
Creating WordPress plugins can be tough but fulfilling for beginners. By understanding the tips in this guide and getting ready for the hurdles, you can start making plugins for WordPress confidently.
So, if you’re up for some epic plugin-making adventures with the ninjas of the best WordPress plugin development service company, let’s team up!
Stay curious, keep learning, and have fun making cool plugins! And do share your first WordPress plugin development story as well:)
Feel free to swing by our ColorWhistle page. You’ll get the lowdown on our services and find some interesting stuff there! Just head to our Contact Us page to get in touch with us.
What’s Next?
Now that you’ve had the chance to explore our blog, it’s time to take the next step and see what opportunities await!A clear grasp of these basics helps you write clean, maintainable code and avoid common beginner mistakes that lead to compatibility or performance issues.